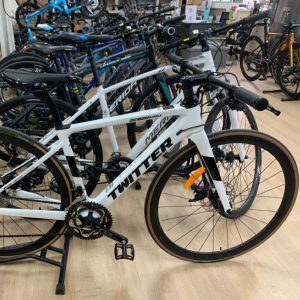
Cassettes are a critical accessory of your bike’s drivetrain, playing a vital role in gear shifting and overall performance. Proper maintenance and timely replacement are essential to keep your bike running smoothly and efficiently. In this comprehensive guide, we’ll walk you through the process of replacing cassettes, providing detailed insights and tips to help you make informed decisions.
Understanding the Role of Cassettes
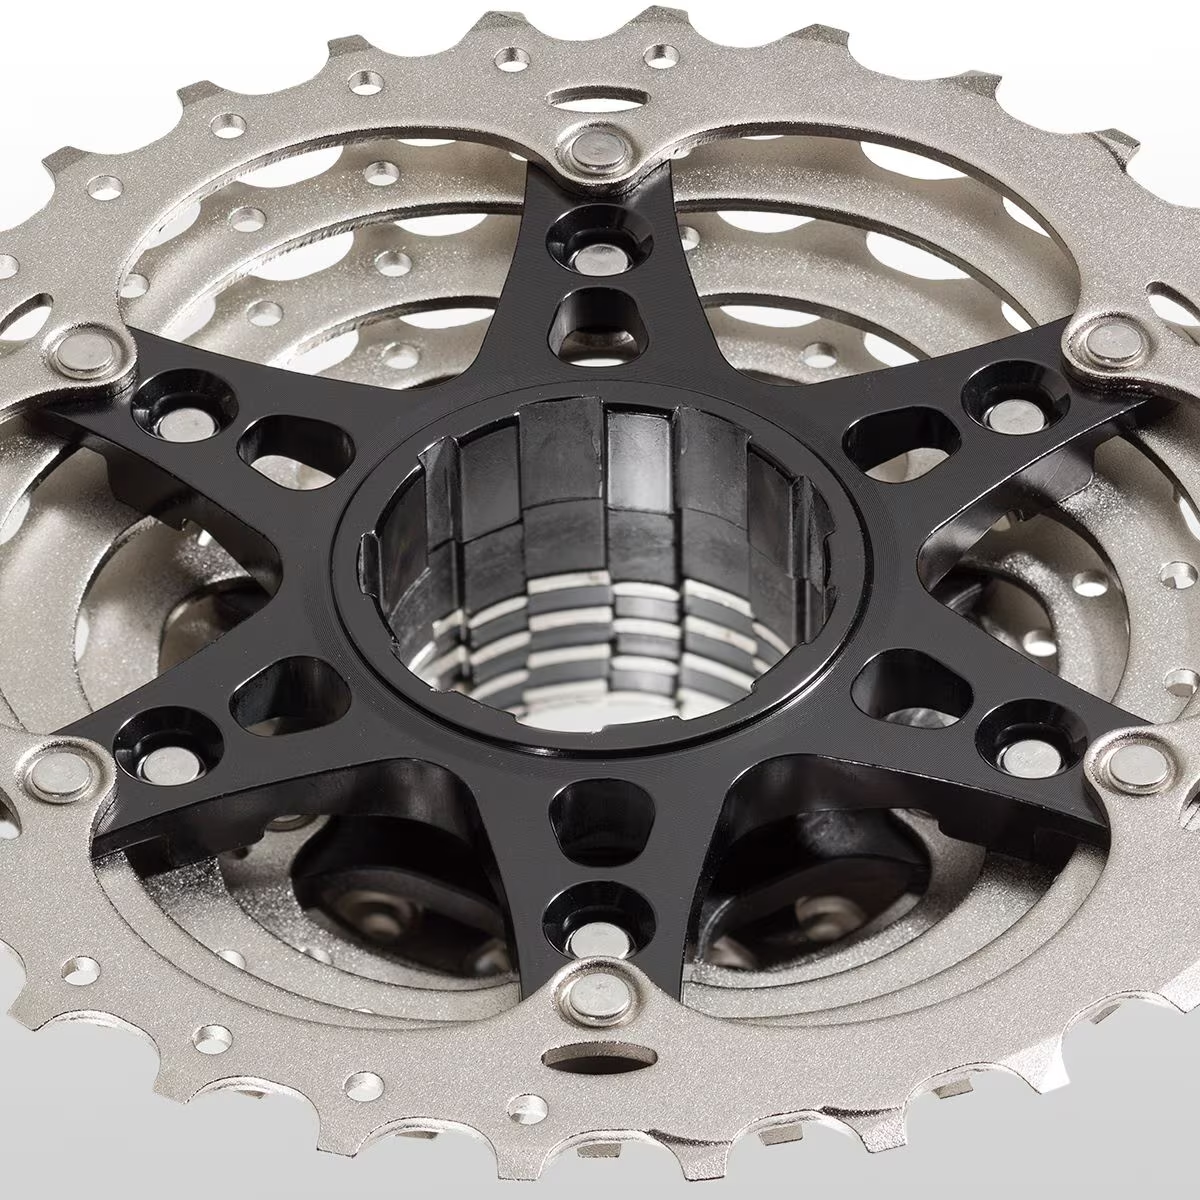
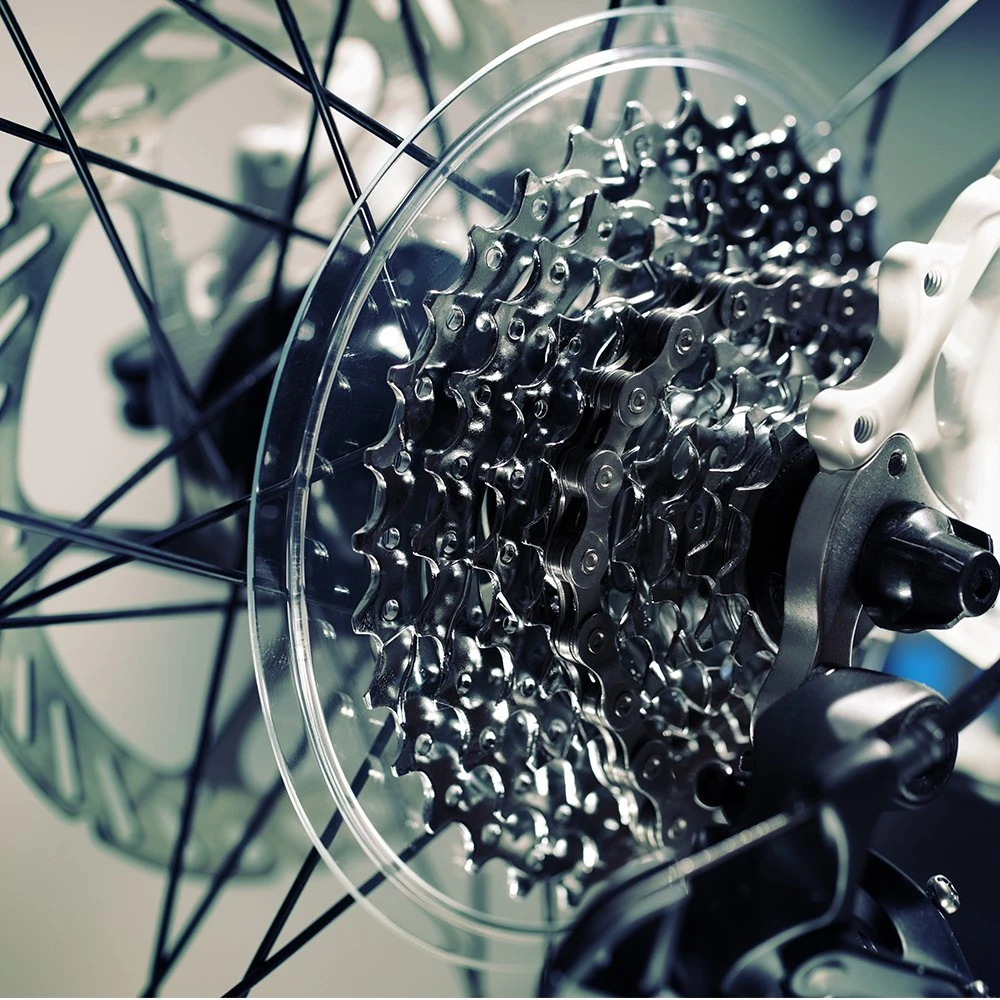
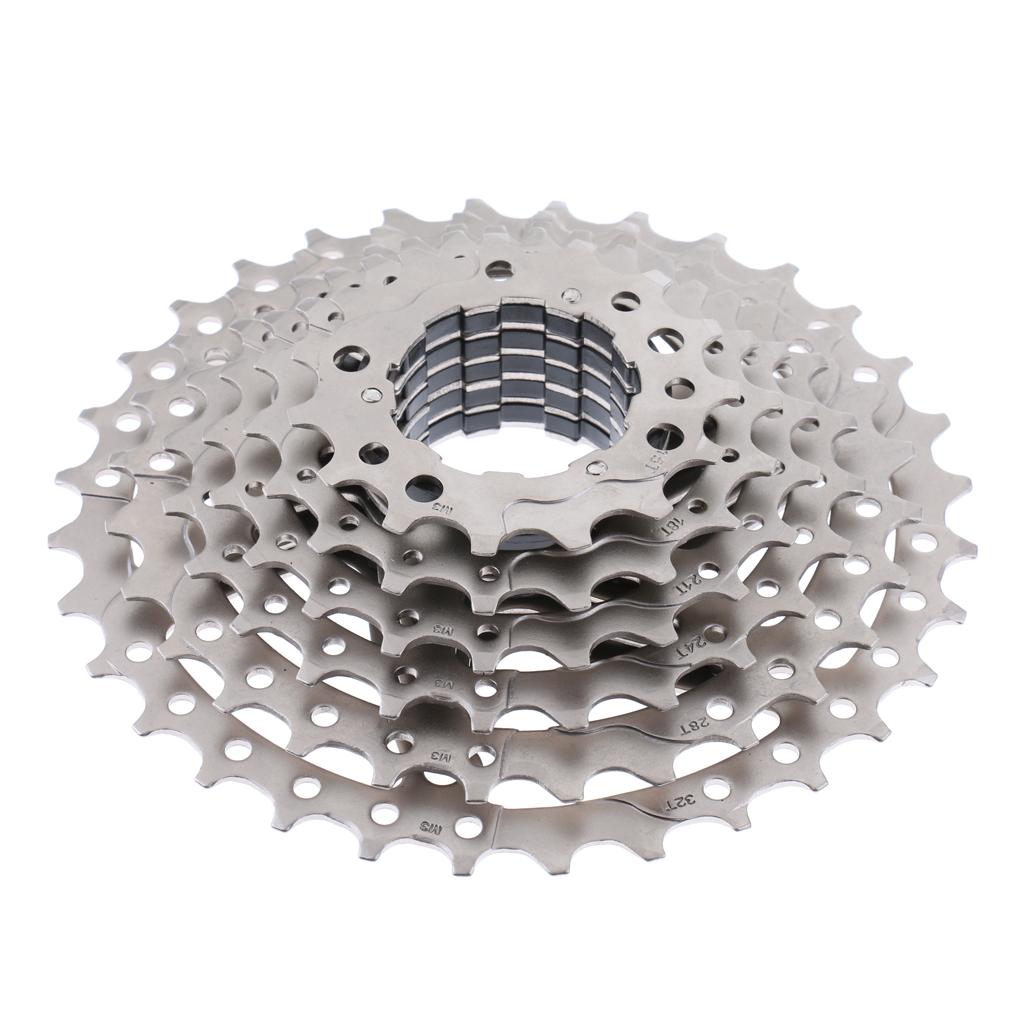
Cassettes are the cluster of gears attached to the rear wheel hub of a bicycle. They work in conjunction with the chain and derailleurs to enable you to shift gears, adapting to different terrains and riding conditions. The number of gears on a cassette can vary, typically ranging from seven to twelve sprockets. Each sprocket offers a different level of resistance, allowing you to optimize your pedaling efficiency.
Cassettes wear out over time due to friction, debris, and moisture. A worn-out cassette can lead to poor gear shifting, increased chain wear, and compromised ride performance. Recognizing the signs of wear and knowing when to replace your cassette are crucial for maintaining your bike’s functionality.
Signs That Your Cassette Needs Replacement
Identifying when your cassette needs replacement is vital to avoid further damage to your bike’s drivetrain. Here are some signs to look out for:
Slipping Gears
One of the most common indications of a worn cassette is slipping gears. If you notice your bike skipping gears during rides, it’s a sign that the teeth on the sprockets may be worn down, failing to engage the chain properly.
Inconsistent Shifting
Difficulty in shifting or inconsistent gear changes can also signal that your cassette is past its prime. If you experience frequent adjustments without improvement, it may be time to consider a replacement.
Visible Wear
Inspecting your cassette visually can reveal signs of wear. Look for worn-down or jagged teeth on the sprockets. If the teeth appear sharp or uneven compared to a new cassette, replacement is likely necessary.
Chain Stretch
A stretched chain places additional stress on the cassette, increasing wear. Regularly check your chain for stretch using a chain checker tool. If your chain has stretched beyond the recommended limit, it’s time to replace both the chain and cassette.
Tools Needed for Cassette Replacement
Before you begin the replacement process, gather the necessary tools to ensure efficiency and precision. Here’s a list of tools you’ll need:
Cassette Lockring Tool
This specialized tool is required to remove the lockring that secures the cassette to the hub. Ensure you have a lockring tool compatible with your specific cassette type.
Chain Whip
A chain whip is used to hold the cassette in place while you loosen the lockring. It provides the necessary leverage and stability for safe removal.
Torque Wrench
A torque wrench ensures that you tighten the cassette lockring to the manufacturer’s specified torque setting, preventing over-tightening or insufficient fastening.
Cleaning Supplies
Having cleaning supplies on hand, such as degreaser and rags, allows you to clean the hub and other components before installing the new cassette, ensuring optimal performance.
Step-by-Step Guide to Replacing Your Cassette
Step 1: Remove the Rear Wheel
Start by removing the rear wheel from your bike. Shift the chain onto the smallest chainring and smallest sprocket to relieve tension. Open the quick-release lever or unscrew the axle nuts to detach the wheel.
Step 2: Secure the Cassette
Use the chain whip to secure the cassette by wrapping it around one of the larger sprockets. This prevents the cassette from moving while you loosen the lockring.
Step 3: Remove the Lockring
Insert the cassette lockring tool into the lockring and turn it counterclockwise with a wrench. The lockring should loosen and come off easily. Carefully remove the cassette from the freehub body.
Step 4: Clean the Freehub Body
Before installing the new cassette, clean the freehub body to remove any dirt, grime, or old grease. A clean surface ensures that the new cassette sits properly and performs optimally.
Step 5: Install the New Cassette
Align the splines on the freehub body with the cassette and gently slide the cassette onto the hub. Install the lockring by hand initially, then use the torque wrench to secure it to the manufacturer’s recommended torque setting.
Step 6: Reinstall the Rear Wheel
Place the rear wheel back onto the bike frame, ensuring it’s properly aligned. Tighten the quick-release lever or axle nuts securely.
How to Choose the Right Cassette
Selecting the appropriate cassette hinges on several factors, including your riding style, bike type, and the terrains you frequent. Here’s a guide to help you make an informed decision.
Gear Ratio and Terrain
Understanding gear ratios is crucial. If you often encounter steep hills, opt for a cassette with larger sprockets to make climbing easier. For flat or undulating terrains, smaller sprockets offer higher speeds, enhancing your ride. Analyze your usual routes and match the cassette accordingly to ensure it complements your cycling activities.
Compatibility with Derailleur and Chain
Compatibility between the cassette, derailleur, and chain is indispensable for smooth operation. Ensure that the cassette is compatible with your bike’s drivetrain system, including the number of speeds it supports. An incompatible cassette may lead to ineffective gear shifting or accelerated wear on components.
Weight Considerations
For performance-driven cyclists, cassette weight can influence overall bike weight. Lighter cassettes contribute to a lesser load and potentially faster speeds. However, lighter options may sacrifice durability, so evaluating your preference for speed versus longevity is essential.
Maintenance and Care for Cassettes
Proper maintenance of your bike’s cassette is vital for long-lasting performance and smooth gear transitions. Here are a few tips to keep your cassette in top condition.
Regular Cleaning
Dirt and grime accumulation can impair shifting and accelerate wear. Regularly clean your cassette using a brush and degreaser to remove debris. Ensuring the sprockets are free from contaminants not only enhances performance but extends the cassette’s lifespan.
Inspection and Replacement
Periodically inspect your cassette for signs of wear, like sharp or hooked teeth, which can impede smooth shifting. If you notice significant wear or experience frequent chain slipping, it may be time to replace the cassette. Regular inspections help identify problems early, mitigating the risk of drivetrain damage.
Proper Installation
Ensure your cassette is installed correctly to avoid issues during cycling. A secure lockring prevents the sprockets from loosening while riding, maintaining a stable and reliable system. If unsure about installation, consulting a professional mechanic can prevent installation-related mishaps.
Upgrading Your Bike’s Cassette
Upgrading your bike’s cassette can provide significant advancements in performance, enhancing your biking experience. Whether seeking increased speed or smoother climbs, upgrading offers tailored improvements.
Benefits of Upgrading
An upgraded cassette can offer better gear transitions, enhanced durability, and optimized weight balance. It allows for a customized riding experience, aligning more closely with your cycling ambitions. Advanced materials and engineering in higher-tier cassettes can revolutionize riding for committed cyclists.
Considerations for Upgrading
Before upgrading, consider the compatibility with existing components, potential need for a new derailleur or chain, and the cost-to-benefit ratio. Weigh these factors against your cycling goals to derive maximum value from an upgrade. Consulting with experts or fellow cyclists can offer insights into successful upgrading strategies.
Exploring Advanced Cassette Technologies
The cycling industry continually innovates, producing sophisticated cassette technologies that enhance performance and user experience. Familiarizing yourself with these advancements can inform your cycling upgrades.
Hyperglide and MegaRange Systems
Designed to improve gear transition smoothness, Hyperglide technology revolutionizes cycling with precisely machined ramps and tooth profiles. MegaRange systems, meanwhile, prioritize extensive gear range, assisting in extreme terrains. Both systems represent significant milestones in cycling technology.
Electronic Shifting
Electronic shifting systems have emerged, providing precise control and effortless gear changes. These systems integrate seamlessly with cassettes, optimizing every shift, enhancing efficiency, and reducing mechanical lag.
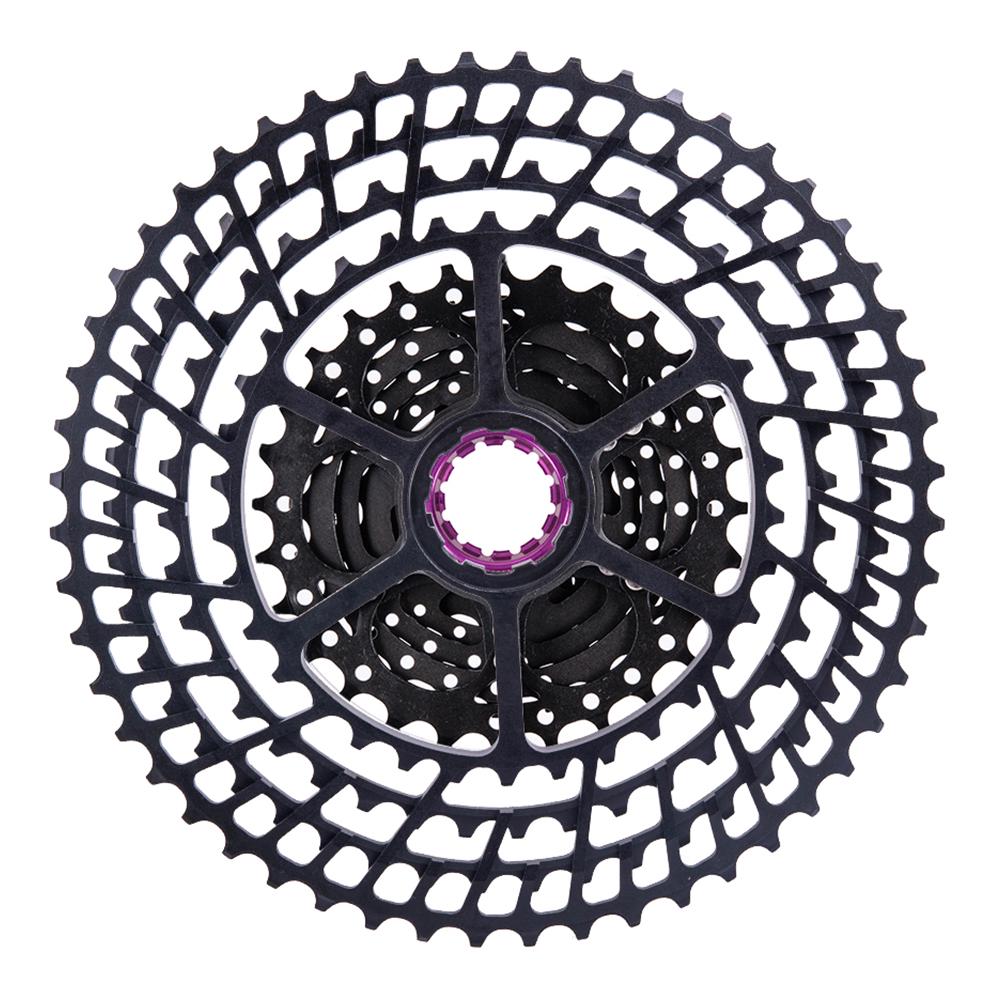
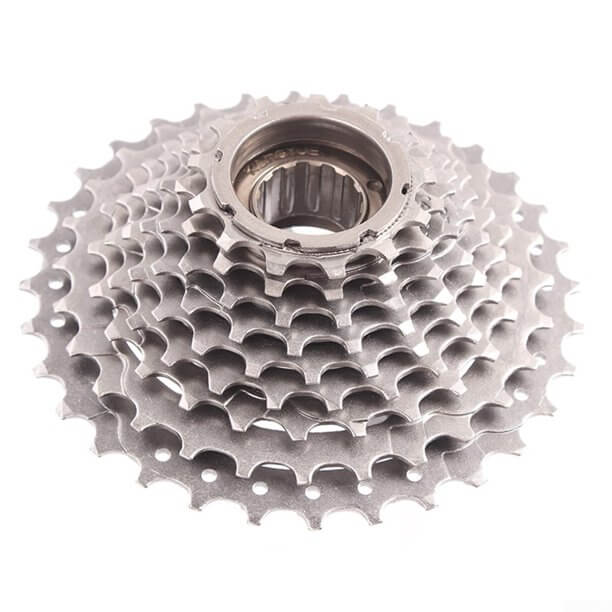
Different Cassette Types and Compatibility
Understanding the different types of cassettes and their compatibility with your bike is essential for making the right choice when replacing them.
Road Bike Cassettes
Road bike cassettes are designed for speed and efficiency on paved surfaces. They typically have closely spaced gears, allowing for smooth transitions and optimal performance at high speeds.
Mountain Bike Cassettes
Mountain bike cassettes are built for durability and adaptability to rough terrains. They often feature a broader range of gears to handle steep climbs and descents effectively.
Hybrid and Gravel Bike Cassettes
Hybrid and gravel bike cassettes offer a balance between road and mountain biking needs. Their gear range is versatile, making them ideal for mixed-terrain adventures.
Compatibility Considerations
When selecting a new cassette, ensure it’s compatible with your bike’s drivetrain system, including the rear derailleur and chain. Check the number of sprockets, gear ratio, and freehub compatibility to avoid any issues.
 Troubleshooting Common Replacement Issues
Difficulty in Removing Cassette
If the lockring is stuck, apply penetrating oil and allow it to sit for a few minutes before attempting removal. You may also use additional leverage with a longer wrench or a cheater bar.
Misaligned Cassette
Double-check alignment and ensure the splines on the freehub body match those on the cassette. Adjust and re-seat the cassette carefully to avoid shifting issues.
Noise After Replacement
Noise can occur if the lockring isn’t tightened properly or if the chain and cassette are incompatible. Recheck the torque setting and ensure the chain is the correct type for the cassette.
Conclusion: Keeping Your Bike’s Cassettes in Top Condition
Replacing your bike’s cassettes doesn’t have to be a daunting task. With the right tools, knowledge, and attention to detail, you can ensure smooth and efficient rides on any terrain. Regular maintenance, including timely replacements, will keep your bike in excellent condition, enhancing your cycling experience.
Remember, cassettes are more than just gears; they are integral to the bike’s performance. By understanding their importance and taking proper care, you can prolong their life and enjoy seamless rides for miles to come.