I. Introduction
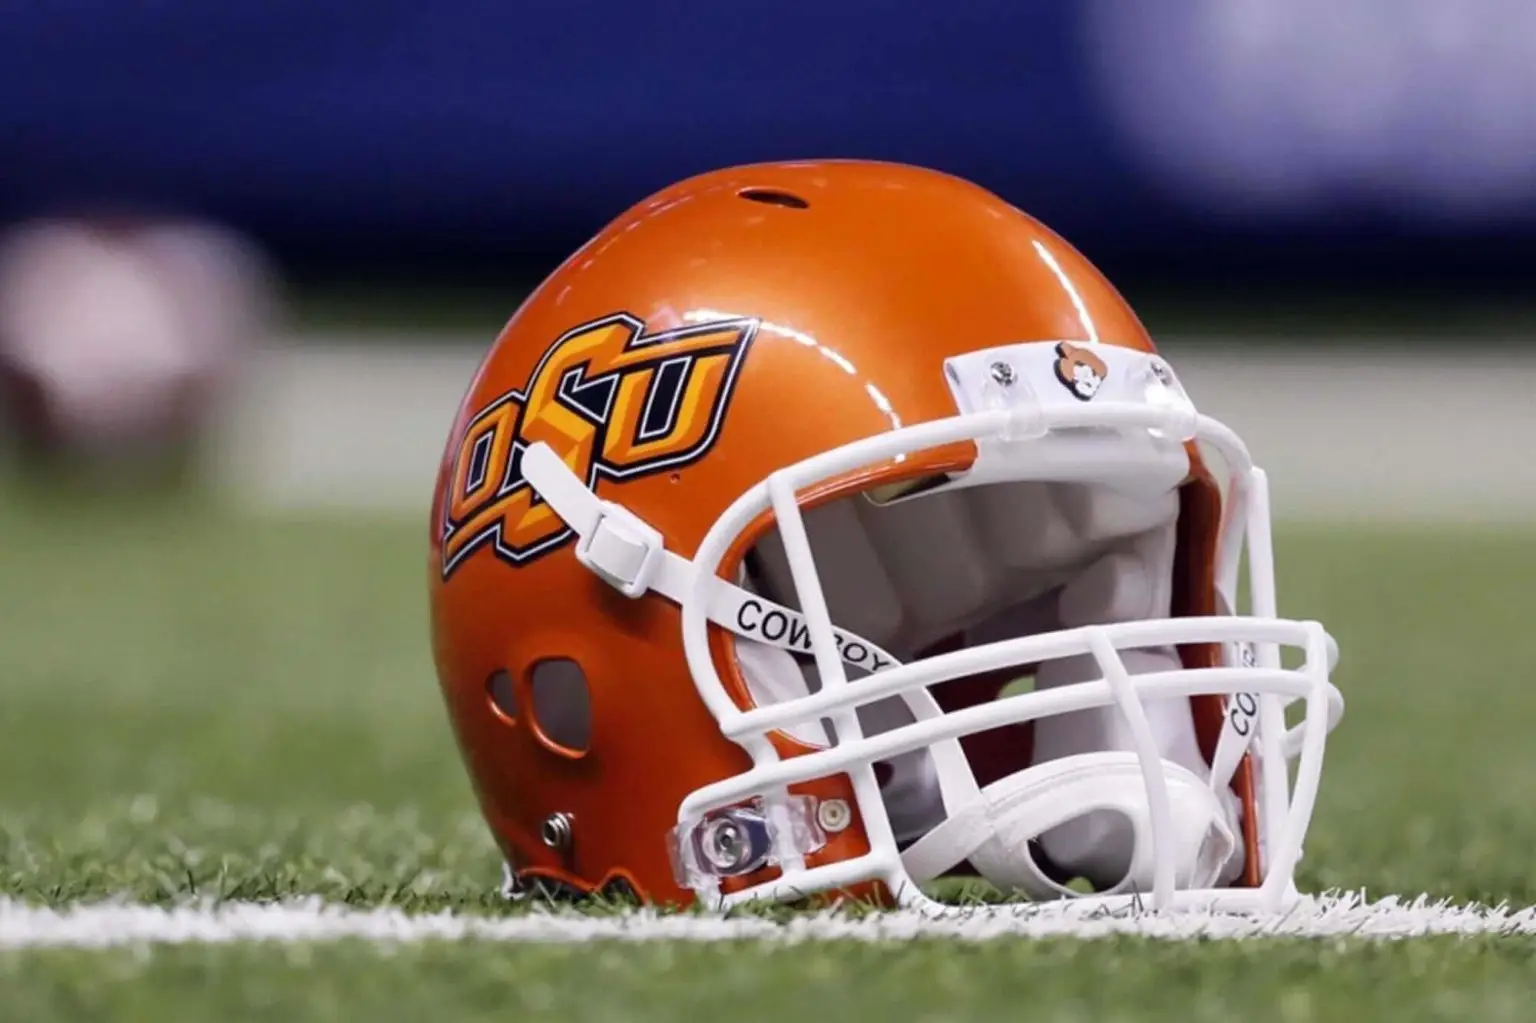
A. Importance of painting a football helmet Painting a football helmet is not only a way to customize and express individuality, but it also serves as a means of protection and differentiation on the field. Customizing a helmet allows players to showcase their personality and team spirit while adding an extra layer of durability to the helmet’s exterior.
B. Overview of the article’s content This article will provide a step-by-step guide on how to paint a football helmet. From preparing the helmet by cleaning it and masking off non-paintable areas to priming the helmet with the right primer and applying it properly, we will cover all the necessary steps to ensure a successful paint job.
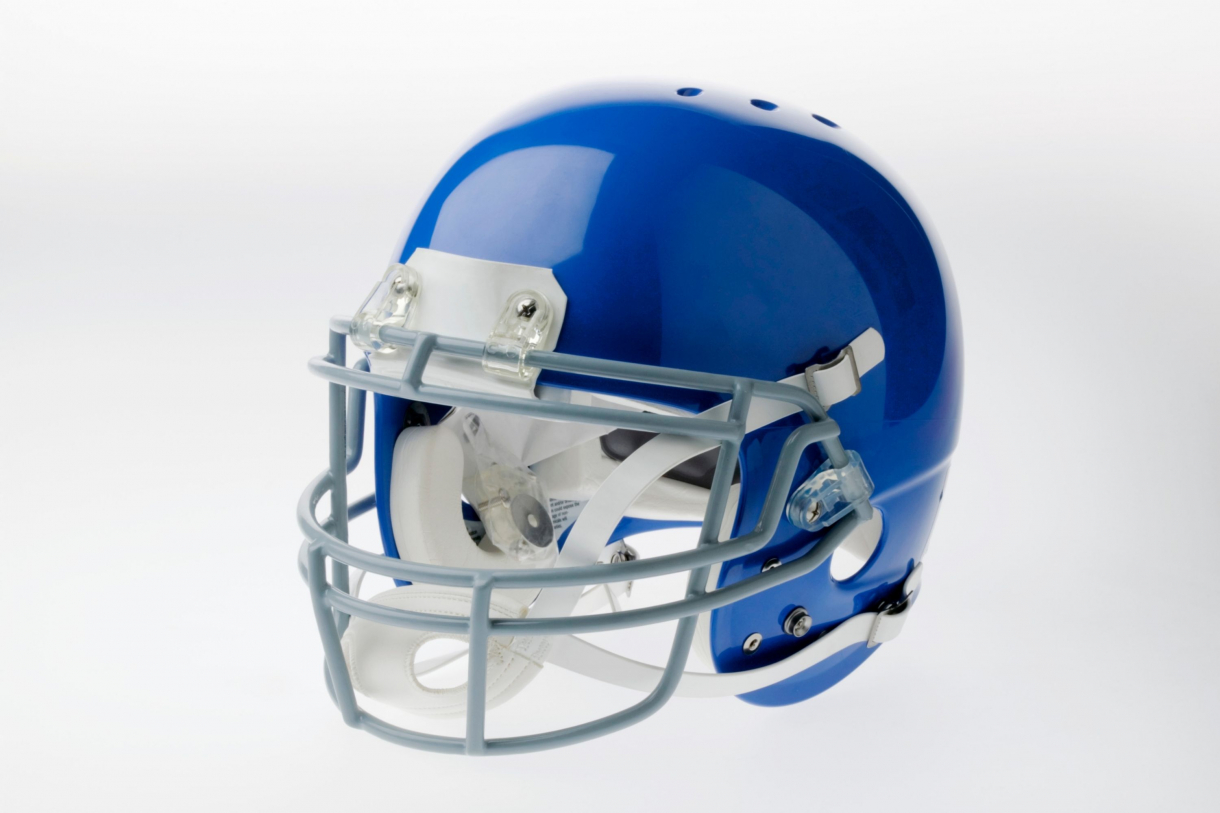
II. Preparing the Helmet
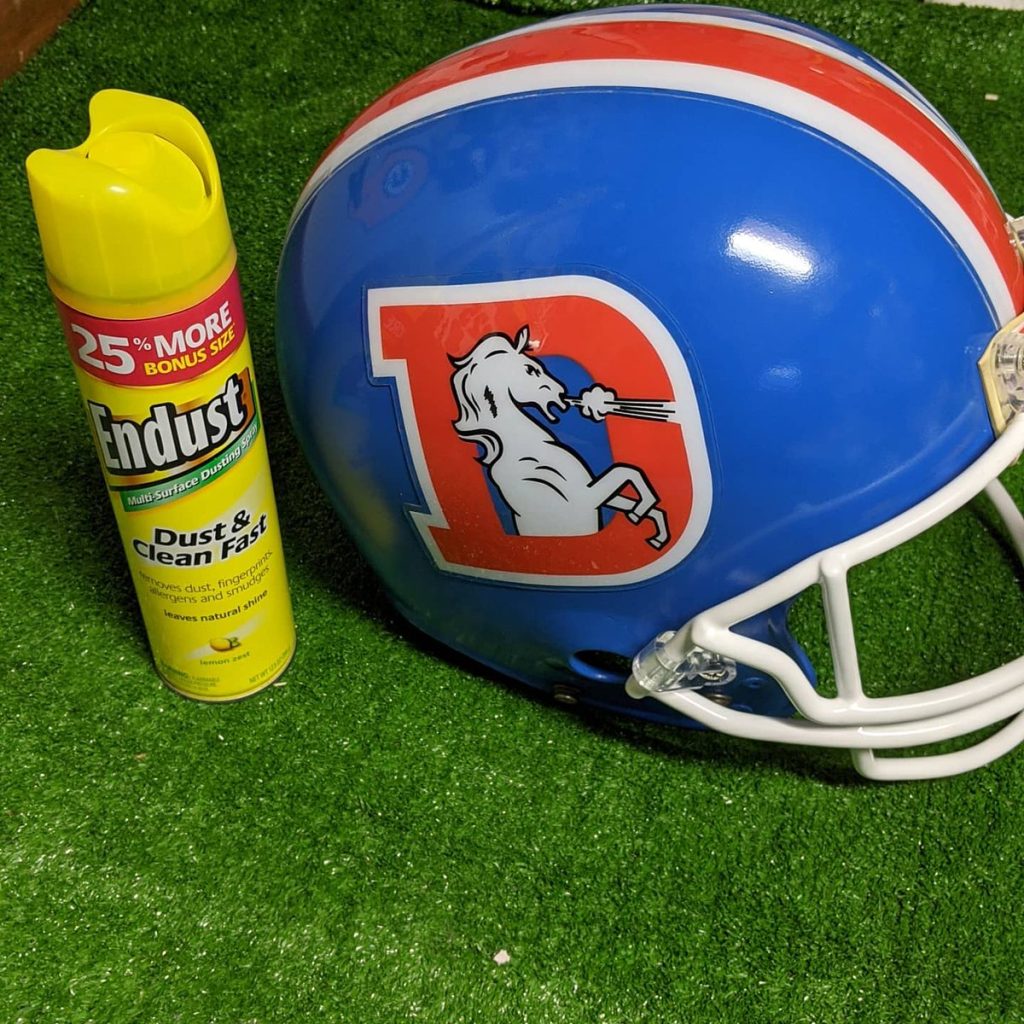
A. Cleaning the helmet
- Removing dirt and debris To achieve a smooth and even paint finish, it is important to start with a clean helmet. Remove any dirt, grease, or debris using a mild soapy solution and a soft cloth. Rinse it thoroughly and allow it to dry completely.
- Ensuring a smooth surface for paint application Inspect the helmet for any imperfections or rough spots. Use sandpaper or a sanding block to gently smooth out any rough areas. This will help create a smooth surface for the paint to adhere to.
B. Masking off non-paintable areas
- Protecting the faceguard and decals Cover the faceguard and any other non-paintable areas, such as logos or decals, with painter’s tape. Ensure that all edges are sealed properly to prevent any paint from bleeding onto these areas.
- Applying painter’s tape and plastic covers Mask off the inside of the helmet with painter’s tape to protect the padding and other internal components. Use plastic covers to cover any exposed areas that need to be protected from overspray during the painting process.
III. Priming the Helmet
A. Choosing the right primer
- Considerations for helmet material Select a primer that is suitable for the specific material of your helmet. Different types of helmets, such as those made of ABS or fiberglass, may require different types of primers.
- Optimal primer compatibility Ensure that the primer you choose is compatible with the type of paint you plan to use. This will help improve the adhesion of the paint to the helmet’s surface and enhance the overall durability of the paint job.
B. Applying the primer
- Masking off the inside of the helmet To protect the inside of the helmet from primer overspray, cover it with painter’s tape. Make sure to seal all edges properly.
- Applying thin, even coats of primer Hold the spray can of primer approximately 8-12 inches away from the helmet’s surface. Apply thin and even coats of primer, ensuring complete coverage and avoiding any drips or runs. Allow each coat to dry for the recommended time as per the manufacturer’s instructions.
- Allowing proper drying time To ensure the primer properly adheres and dries, allow it to dry completely. This may take several hours or as per the manufacturer’s instructions. It is crucial not to rush this step to achieve the best possible results.
IV. Painting the Helmet
A. Selecting the paint
- Acrylic paint for helmets When it comes to painting a football helmet, using acrylic paint is highly recommended. Acrylic paint is known for its durability, flexibility, and ability to adhere well to different materials, including helmet shells. Make sure to choose a high-quality acrylic paint that is specifically formulated for use on plastics.
- Considerations for color and finish Consider the color and finish you want for your helmet. Acrylic paints come in various colors, including metallic and matte finishes. Keep in mind any team or league regulations, as they may dictate the permissible colors or designs.
B. Applying the paint
- Using a high-quality brush or airbrush For detail work and small areas, a high-quality brush is recommended. Look for brushes with synthetic bristles specifically designed for acrylic paints. For larger areas, such as the helmet shell, an airbrush can provide a smoother and more even application.
- Ensuring smooth and even application To achieve a professional-looking finish, it is important to apply paint smoothly and evenly. Use long, even strokes when using a brush, and maintain a consistent distance and speed when using an airbrush. Take your time and avoid applying excessive paint, as this can result in runs, drips, or uneven surfaces.
- Applying multiple thin layers for desired coverage To achieve solid and even coverage, it is best to apply multiple thin layers of paint rather than one thick coat. Allow each layer to dry before applying the next. This will help prevent drips, runs, or uneven color distribution. Be patient and build up the layers gradually until you achieve the desired color intensity.
- Allowing sufficient drying time between coats Drying times can vary depending on the type of paint and environmental conditions. It is crucial to follow the recommended drying times provided by the paint manufacturer. Rushing the drying process can result in tacky or smudged surfaces. Allow the helmet to dry completely before proceeding to the next step.
V. Adding Details and Finishing Touches
A. Using stencils or decals
- Creating custom designs If you want to add intricate designs or logos to your helmet, stencils or decals are a great option. You can either purchase pre-made stencils or create your own using special stencil material. This allows for customization and personalization of your helmet.
- Applying stencils or decals with precision When applying stencils or decals, ensure that the surface is clean and dry. Position the stencil or decal carefully and use painter’s tape to secure it in place. Apply the paint with a brush or an airbrush, using gentle and even strokes. For decals, follow the instructions provided by the manufacturer for proper application and adhesion.
B. Applying clear coat
- Protecting the painted surface To enhance the durability and longevity of the paint job, applying a clear coat is recommended. Clear coat acts as a protective layer, shielding the painted surface from scratches, chips, and fading. Choose a clear coat specifically formulated for acrylic paints and plastics.
- Enhancing the durability of the design Apply the clear coat in thin, even layers, following the recommended drying times between coats. This will help ensure that the clear coat bonds properly with the paint layers underneath. Allow the clear coat to dry completely before handling or using the helmet.
By following these steps, you can achieve a professional-looking paint job on your football helmet. The key is to use high-quality materials and take your time throughout the process. Remember to refer to the specific instructions provided by the paint and clear coat manufacturers for best results.
VI. Conclusion
Painting a football helmet allows you to showcase your individuality and team spirit while adding an extra layer of protection and customization. By selecting the appropriate paint, applying it with care, and adding any desired details or clear coats, you can create a unique and durable design that reflects your style and enhances your on-field presence. Enjoy the process of painting your helmet and have fun personalizing your gear for the game!